Set checks to be performed on a regular basis, at a frequency you can select. Useful to ensure your candidates’ information is kept up-to-date or compliant with regulations.
Step 1: Select the checks to be re-screened
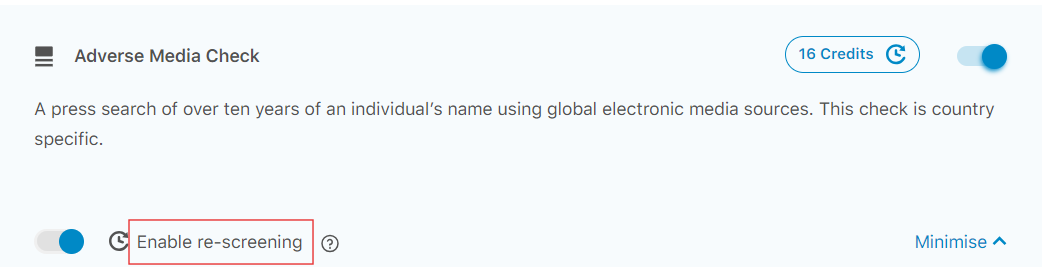
From the criteria builder, checks are eligible for re-screening and can be set to be performed periodically.
An icon will be included in the check’s credit label as a marker for the possibility to enable re-screening. Once the check is selected, there will be a toggle button to enable re-screening
Step 2: Set the re-screening
Once you finished enabling re-screening for selected checks, you can set the re-screening process in the bottom area. The options will apply for all the selected checks

Step 3: Create the request
These criterias with re-screening can be selected when creating a new request, implying the added candidate to be verified based on those re-screening checks, at the time and frequency set by the client.
Client can also edit these re-screenings on the new request page, or even add it if there was no re-screening selected from the first place
Additional: Disable re-screenings for existing candidates
You have the option to deactivate re-screenings at any time on the Candidates page.

For further support please contact our client support team.