The Veremark <> Bullhorn integration allows users of the Bullhorn ATS to request Veremark background checks on their candidates directly from within the Bullhorn platform.
Setting Up
Step 1: Create your Veremark account
In order to set up the integration you will need to first create a Veremark account. Go to https://app.veremark.com/signup and follow the onscreen instructions.
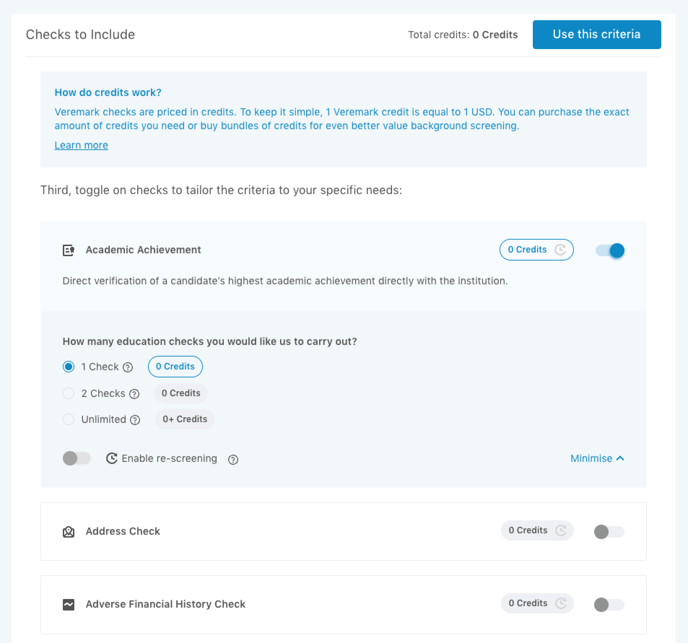
Step 2: Create your criteria
Once your account has been set up, you will then need to set up a ‘Criteria’. This is the package of checks that you perform on a candidate. Once you set up a criteria it will be visible in your Bullhorn account once it has been connected to your Veremark account.
Go to https://app.veremark.com/criteria and click on ‘New Criteria’. In the next screen enter the name for the criteria (one in which you will be able to recognise in easily in Bullhorn) and toggle on the checks that you want to perform.
Once the checks are added and customised click ‘Save’. The criteria has now been created.
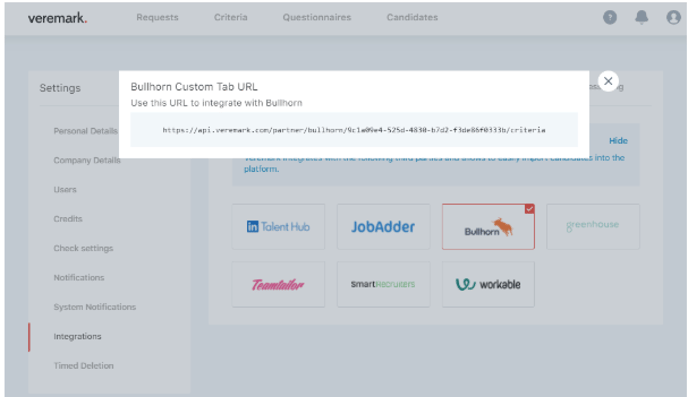
Step 3: Connect Veremark to your Bullhorn Account – Obtain URL
Click on your “Profile” icon in the top right corner and then click on “Settings”.
From the left-hand side menu chose “Integrations” and select “Bullhorn”.

This will provide you with a custom URL that will allow you to link both systems. Please copy this URL and send to your Bullhorn account manager by asking them to initiate Veremark on the Bullhorn system.
Step 4: Connect Veremark to your Bullhorn Account – Set Up Bullhorn
Log into your Bullhorn account https://app.bullhornstaffing.com
Select “Admin”
Then select “View Layout”, choose ‘candidate’ in the “Field Map Entity”, and click on “Custom Tabs” section. Here you can assign the integration name, for example “Veremark Checks”, tick “Enabled” and paste the URL that you copied earlier into the “URL” field.

Veremark and Bullhorn are now connected.
Requesting Veremark Checks within Bullhorn
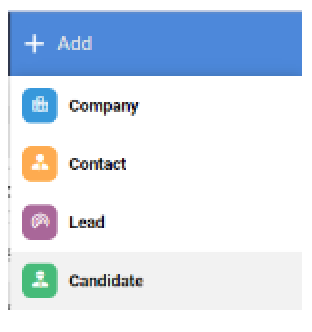
Step 1: Select the person whom you would like to order checks on

Or, first add a new candidate onto the platform by clicking on ‘Add’ button and choosing ‘Candidate’.
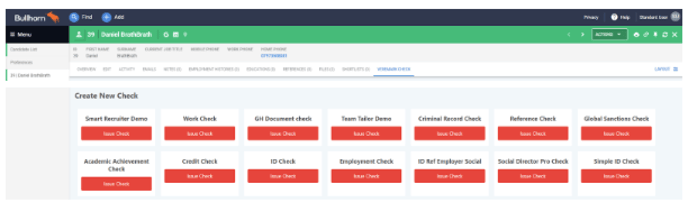
Step 2: Browse checks
Go to the “Candidate List”, choose the candidate and select ‘Veremark Check’ tab located under the candidate profile page. Here you will see any criteria that you had previously set up in step 1. Select the criteria you would like to order and click ‘Issue Check’.
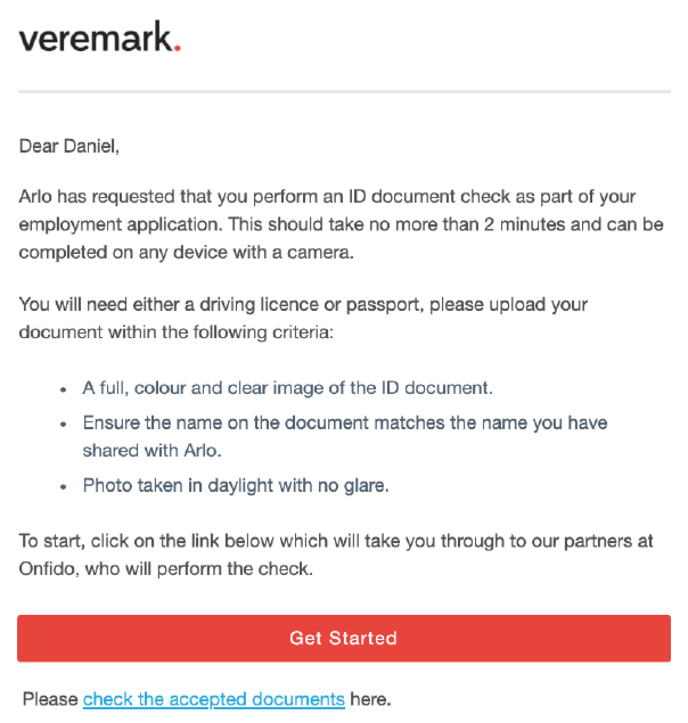
Step 3: The candidate receives an email from Veremark
The email the candidate receives describes the tasks that need to be completed. The candidate can then click through to submits details and start the verification process.
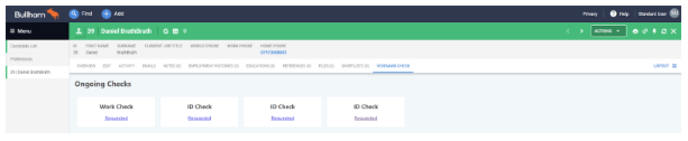
Step 4: The result is displayed in Bullhorn
The progress on the checks can be seen in the “Ongoing checks section” on the candidate application page within Bullhorn. This is also where the results can be seen. Clicking on the results will take you into Veremark’s Platform where you will be able to see the full report.
Please email clientsupport@veremark.com with any questions on the integration.