Overview
The Veremark <> Lever integration allows users of the Lever ATS to request Veremark background checks on their candidates directly from within the Lever platform.
Once the checks have been ordered via Lever the check status and result will automatically update within the Lever candidate view.
A full background check report will be available on the Veremark platform when the check is complete, accessed via a link from Lever.
Setting Up
Step 1: Create your Veremark account
To set up the integration you will need to first create a Veremark account.
Go to https://app.veremark.com/signup and follow the onscreen instructions.
Step 2: Create your criteria
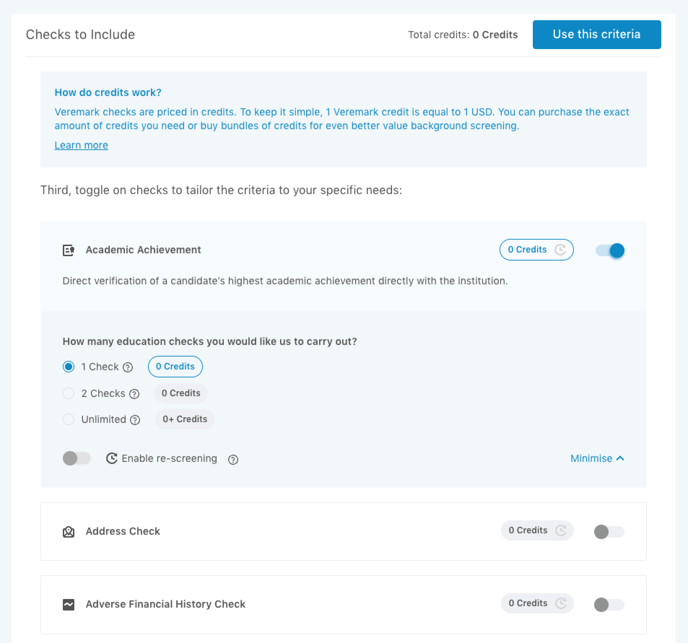
Once your account has been set up, you will then need to set up a ‘Criteria’. This is the package of checks that you perform on a candidate.
Once you set up a criteria it will be used in your Lever account “Tag” section once it has been connected to your Veremark account.
Go to https://app.veremark.com/criteria and click on ‘New Criteria’. In the next screen enter the name for the criteria (one which you will later use as a Tag in Lever) and toggle on the checks that you want to perform.
Once the checks are added and customised click ‘Save’. The criteria have now been created.
Step 3: Connect Veremark to your Lever account
Click on your “Profile” icon in the top right corner and then click on “Settings”.
From the left-hand side menu chose “Integrations” and select “Lever”.
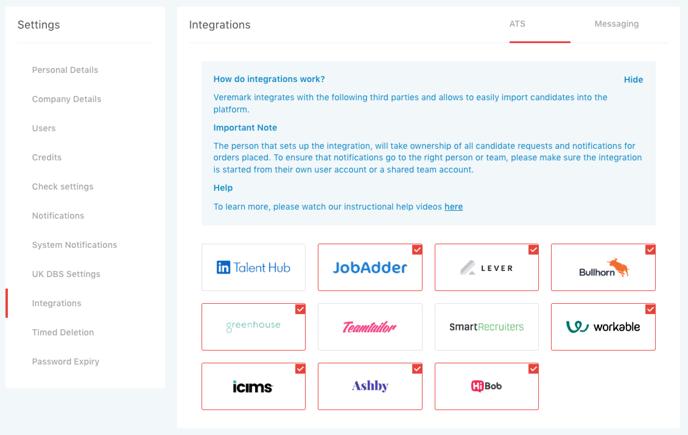
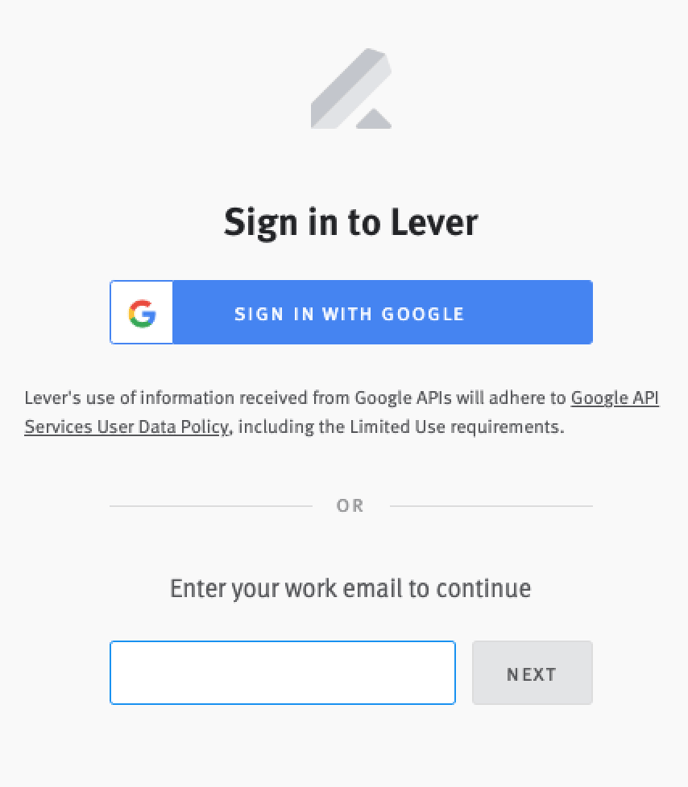
This will open a window with the Lever’s log-in page. Please use your Lever username and password to login to complete the integration.
Once integration has been completed you will see the red tick for Lever on the integrations tab.
Requesting Veremark Checks within Lever
Step 1: Select the person whom you would like to order checks
Access your Lever account and click on the “Add Candidate” button, or choose an existing candidate from your list. At this point, make sure to enter at least the candidate's name and email address. Additionally, you may want to include the candidate's job role for better context.

Step 2: Create a tag (select checks to order)
The next step involves selecting the checks package (criteria) you wish to order. To accomplish this, you will utilise what Lever refers to as “Tags,” as each tag corresponds to the criteria you established in Step 2.
To create a new tag, type “Veremark:” into the Tag field followed by the exact name of the criteria you established. It’s crucial to ensure that the criteria name matches precisely, as any discrepancies will prevent Lever from syncing correctly. Once you have entered the tag, click on “Create new tag” to save it.
Important:
A tag needs to be written like this for each candidate, if you select a previously created tag, the checks may not be triggered.

Step 3: Initiate a check
By changing the overall stage to 'Background Check,' you will initiate the verification process and trigger the necessary checks. At this point, the corresponding Lever tag will update to [Requested], as illustrated below.

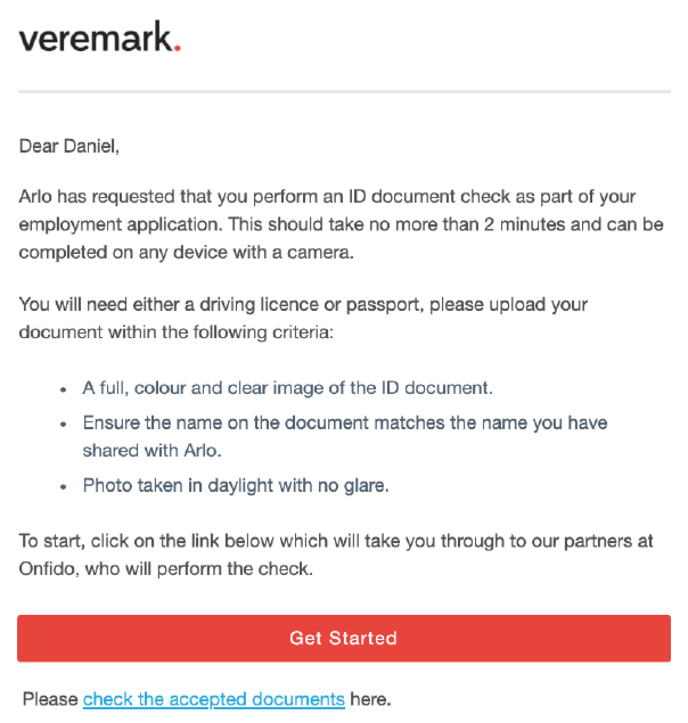
Step 4: The candidate receives an email from Veremark
The candidate will receive an email outlining the tasks they need to complete as part of the verification process. They can click the link provided in the email to submit their details and begin the verification.
Step 5: The result is displayed in Lever
You can track the progress of the background checks directly within Lever, as illustrated below. Once the checks are completed, the corresponding Lever tag will update to [Criteria Met], allowing you to easily identify the status of each candidate's verification process.
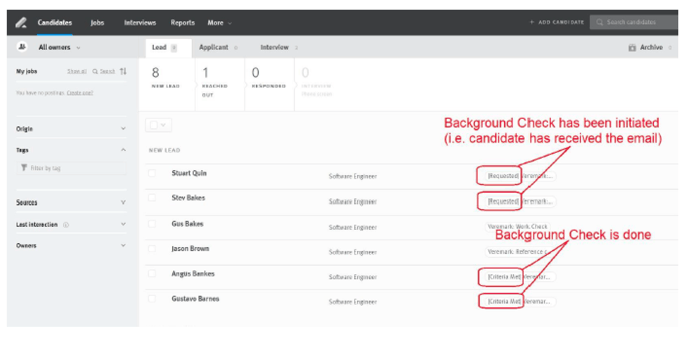
Clicking on the results link shown below, will take you into Veremark’s Platform where you will be able to see the full report.

For any questions related to the Veremark <> Lever integration or this document, please email Client Support Team.